
This lesson is made with PSPX9
But is good with other versions.
© by SvC-Design
Materialen Download :
Here
******************************************************************
Materials:
abertura_titulo.png
base_fundo.jpg
imagem.jpg
Mina@.4640 mist pasquale.04.17.png
NarahsMasks_1684.png
NarahsMasks_1685.jpg
paasbabytubeEllyD-1.png
pascoa_2_AnaMariaC.PspSelection
pascoa_AnaMariaC.PspSelection
wordart_by_AnaMariaC.png
******************************************************************
Plugin:
Plugins - VM Istant Art - Spider Web
Plugin - Alien Skin Eye Candy - 5 Impact - Gradient Glow
Plugins - MuRa's Meister - Perspective Tiling
Plugins - Unlimited 2.0 - &<Bkg Designer sf10 I> Blur 'em...
******************************************************************
color palette
:
******************************************************************
methode
When using other tubes and colors, the mixing mode and / or layer coverage may differ
******************************************************************
General Preparations:
First install your filters for your PSP!
Masks: Save to your mask folder in PSP, unless noted otherwise
Texture & Pattern: Save to your Texture Folder in PSP
Selections: Save to your folder Selections in PSP
Open your tubes in PSP
******************************************************************
We will start - Have fun!
Remember to save your work on a regular basis
******************************************************************
1.
Open all necessary material on psp.
Duplicate them and close the originals.
Don't forget to save your work often.
2.
Choose two colors to work with:
Foreground: #da6a7c
Background: #f7e3e1
3.
Open a new transparent image of 1000x600 px
Selections - Select All.
4.
Open base_fundo.jpg
Edit - Copy
Edit - Paste Into Selection.
Selections - Select None.
5.
Adjust - Blur - Gaussian Blur: 40
6.
Copy-paste as a new image-minimize
back to your image
7.
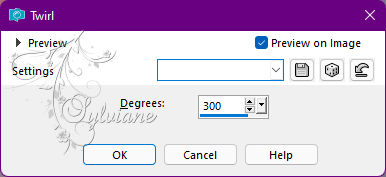
Effects - Distortion Effects - Twirl
Adjust - Sharpness - Sharpen.
Layers - Duplicate.
8.
Plugins - VM Istant Art - Spider Web
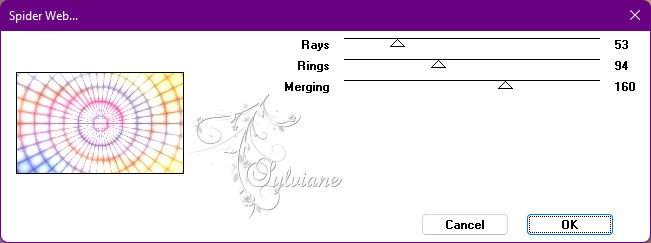
Blend Mode: Hard Light
Opacity: 50%.
Layers - Merge - Merge Down.
9.
Layers - New Raster Layer.
Paint with the color: #FFFFFF (White)
10.
Layers - New Mask Layer - From Image - NarahsMasks_1684
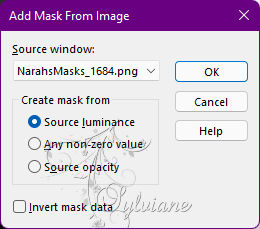
Layers - Merge - Merge Group.
11.
Blend Mode: Luminance (Legacy)
Opacity: 80%
12.
Layers - New Raster Layer.
Paint with the color: #FFFFFF
13.
Layers - New Mask Layer - From image - NarahsMasks_1685
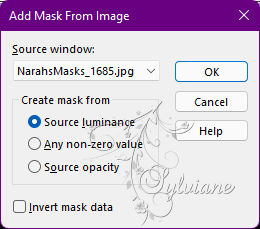
Layers - Merge - Merge Group.
14.
Effects - User Defined Filter - Emboss_3
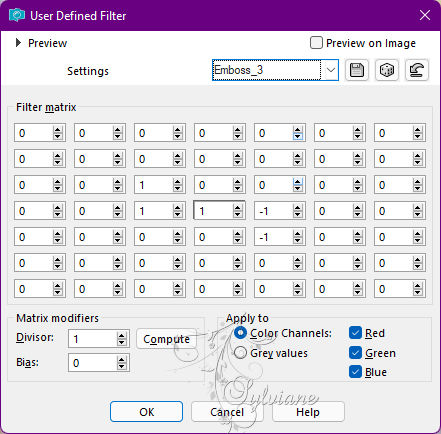
Edit - User Repeat Defined Filter.
Layers - Merge - Merge Down.
Edit - Repeat Merge Down.
15.
Layers - New Raster Layer.
16.
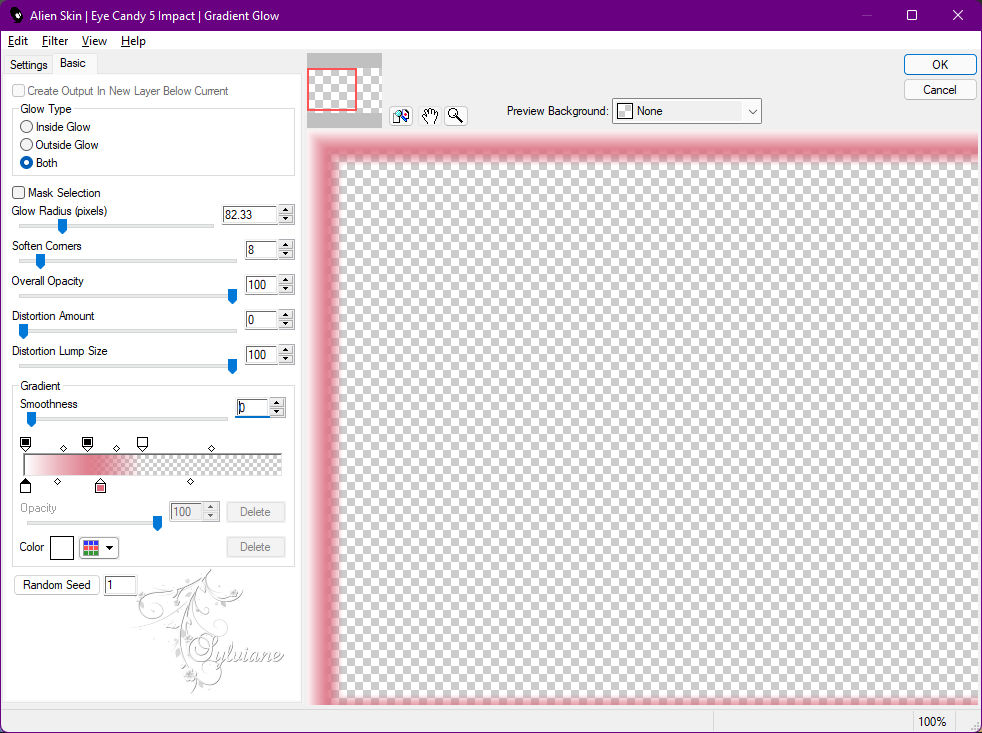
Plugin - Alien Skin Eye Candy - 5 Impact - Gradient Glow
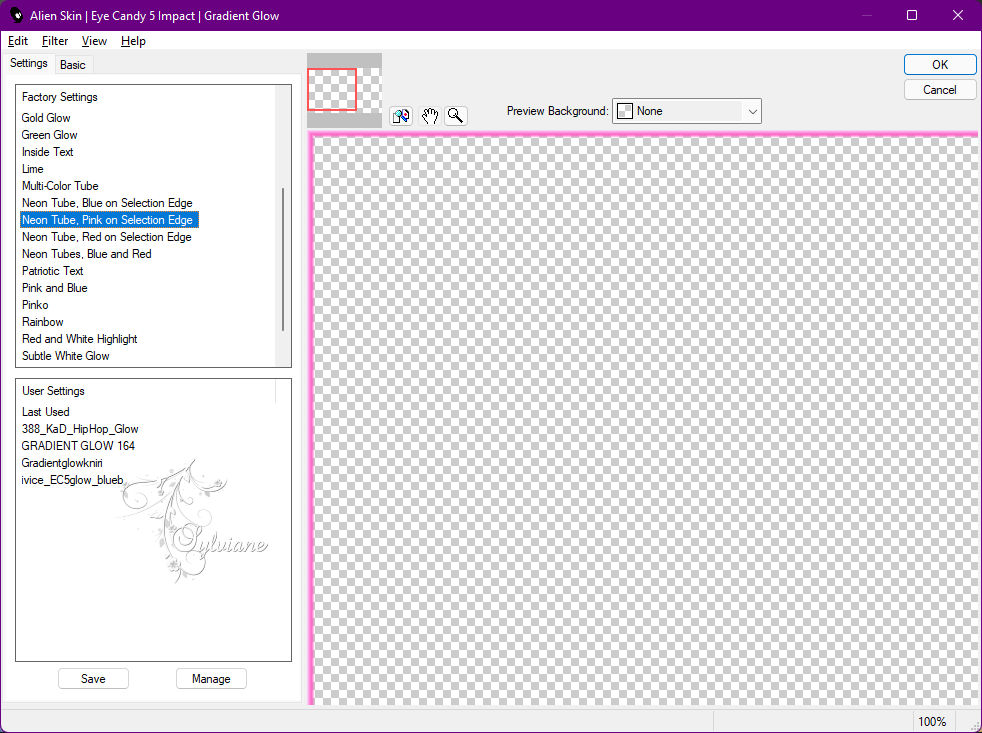
Change the colors to white and the color of the Foreground as shown in the print below.
17.
Layers - Merge - Merge Down.
19.
Layers - New Raster Layer.
20.
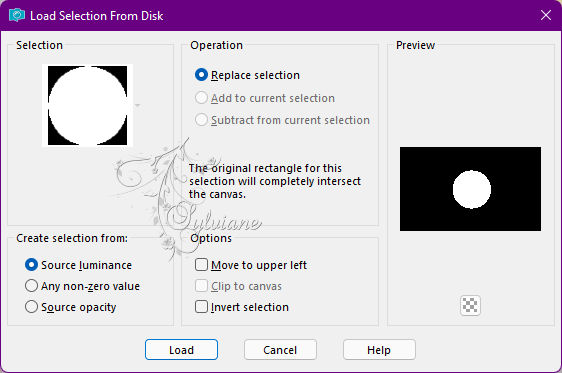
Selections - Load/Save Selections - Load Selection From Disk: pascoa_AnaMariaC

22.
activate your picture you put aside
Edit - Copy.
Edit - Paste Into Selection.
23.
Selections - Modify - Contract -15.
Edit - Clear.
24.
Selections - Modify - Contract: 10
Edit - Paste Into Selection.
25.
Selections - Modify - Contract: 12.
Edit - Cut.
Selections - Select None.
26.
Effects - 3D Effects - Drop Shadow
0/0/50/60 - Color: #000000
27.
Layers - New Raster Layer.
Selections - Load/Save Selections - Load Selection From Disk: pascoa_2_AnaMaria
Selections - Modify - Contract: 13.
28.
Edit - Paste Into Selection.
Open Mina@.4640 mist pasquale.04.17.png
Edit - Copy
Edit - Paste Into Selection.
Adjust - Sharpness - Sharpen.
Selections - Select None.
29.
Layers - Arrange - Move Down.
30.
Layers - Merge - Merge Visibile.
Layers - Duplicate.
31.
Plugins - MuRa's Meister - Perspective Tiling

32.
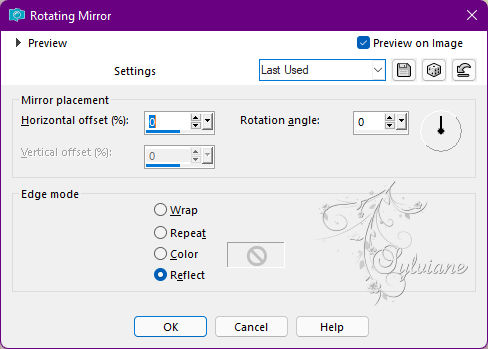
Effects - Reflection Effects - Rotating Mirror
33.
Effects - 3D Effects - Drop Shadow
0/0/100/100 color:#000000
34.
Open paasbabytubeEllyD-1.png
Edit - Copy
Edit - Past As New Layer.
Image - Resize if necessary.
Adjust - Sharpness - Sharpen.
Position at your choice.
Effects - 3D Effects - Drop Shadow: of your choice.
35.
Open wordart_1.png
Edit - Copy
Edit - Past As New Layer.
Position at your choice.
Effects - 3D Effects - Drop Shadow: of your choice.
Blend Mode: Luminance (Legacy).
36.
Image – Add Borders –symmetric - 1px - Color: Foreground color.
Image – Add Borders –symmetric - 3 px - Color: Background color.
Image – Add Borders –symmetric - 1px - Color: Foreground color.
Selections - Select All.
37.
Image – Add Borders –symmetric - 40 px - Color: #FFFFFF
Selections - Invert.
38.
Fill the selection with a Linear gradient,
formed by the colors of Foreground and Background:
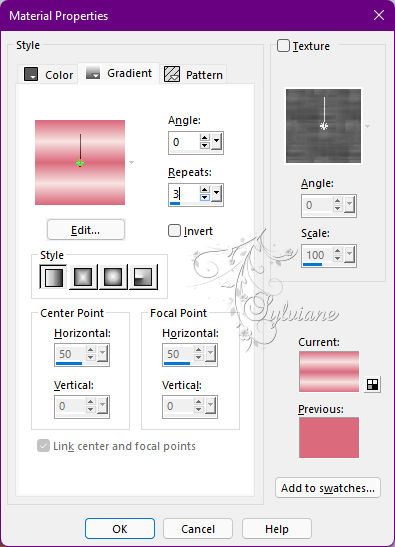
39.
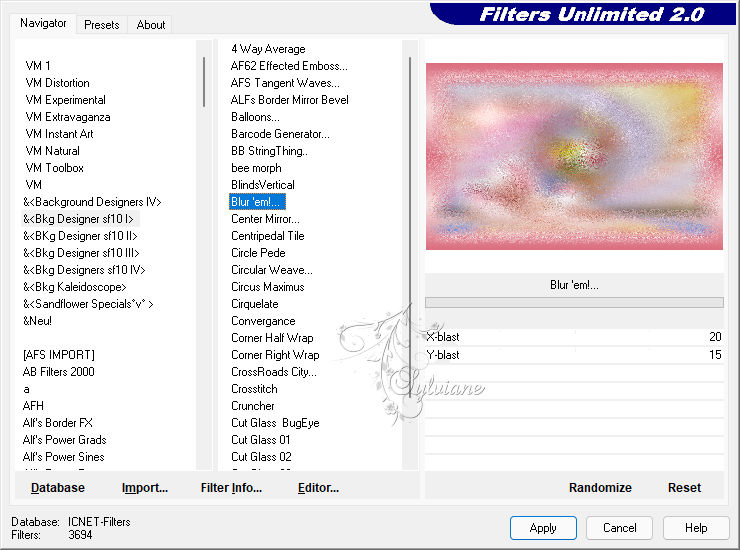
Plugins - Unlimited 2.0 - &<Bkg Designer sf10 I> Blur 'em...
Adjust - Sharpness - Sharpen.
Selections - Invert.
40.
Effects - 3D Effects - Drop Shadow:
0/0/100/60 - Color: #000000
Edit - Repeat Drop Shadow.
Selections - Select None.
41.
Image – Add Borders –symmetric - 1 px - Color: Foreground color.
Resize to 900px wide.
42.
Apply your watermark or signature
Layer – merge – merge all (flatten)
Save as JPEG
Back
Copyright Translation © 2022 by SvC-Design